Adobe Animate Tip of the Week: Smooth Your Motion with Classic Tweens
Step-by-Step: How to Use Classic Tween in Adobe Animate
- Create a Symbol
Draw your object on the stage, then right-click and choose Convert to Symbol (or press F8). Give it a name like “Ball” or “Button.” - Insert a Starting Keyframe
On your timeline, make sure the symbol is on its own layer. Right-click Frame 1 and choose Insert Keyframe. - Insert an Ending Keyframe
Go to the frame where you want the animation to end (e.g., Frame 30), right-click, and choose Insert Keyframeagain. - Move or Transform the Object
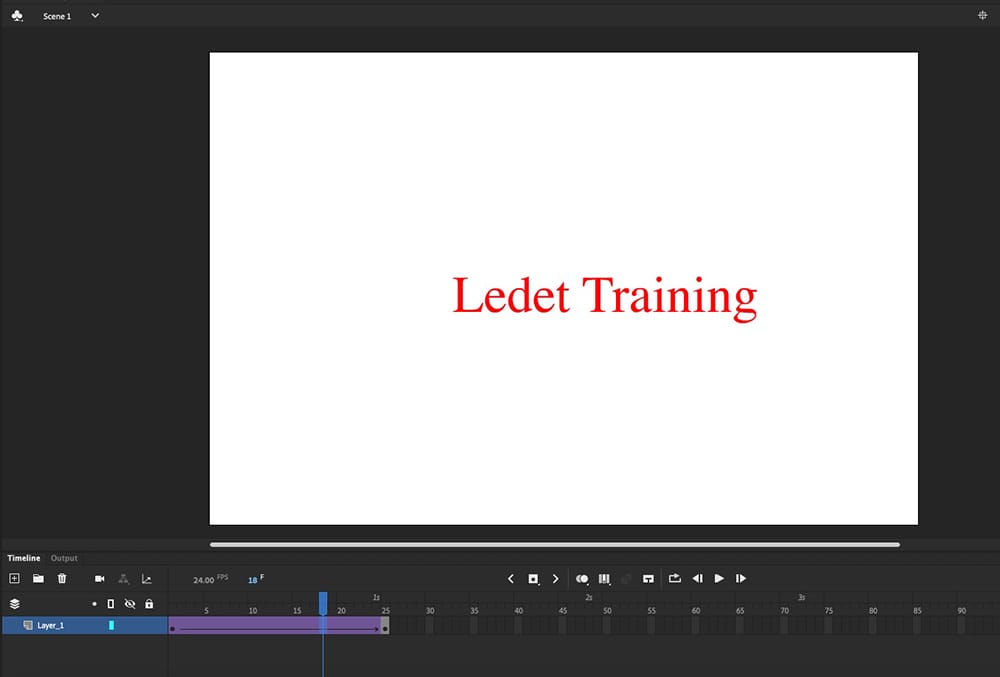
With the end keyframe selected, reposition or scale your object on the stage. - Create the Tween
Right-click anywhere between the two keyframes and choose Create Classic Tween. You’ll see a smooth motion path automatically applied.
When to Use This:
- Moving characters across a scene
- Creating button hover effects
- Simulating falling or floating objects
- Animating UI transitions in app prototypes
Pro Tip:
Want more natural motion? Use the Ease settings in the Properties panel. A value like Ease In: 100 will start the animation slowly and accelerate over time — great for mimicking real-world physics.
Classic Tweens are your secret weapon for clean motion without needing complex frame-by-frame animation. Once you get the hang of them, your timeline will thank you.