After Effects Tip of the Week: Create a Cinematic Light Sweep on Text in Under 10 Minutes
Have you ever wanted to add that polished, professional “light sweep” effect to your text or logo in After Effects — the one where a gleam of light glides across the letters, making them pop and feel cinematic? Instead of hunting for a plugin or preset, here’s a quick step-by-step method you can use right now.
Why Use a Light Sweep?
- It draws the viewer’s eye to your title or branding in motion graphics.
- It adds a subtle premium look — think movie-title sequences, trailers, product promos.
- Once you build the rig, you can reuse it across text layers or logos in future projects.
What You’ll Need
- A composition with your text or logo layer.
- Basic familiarity with keyframes, mask paths and blend modes in After Effects.
- No extra plugins required (though you could use third-party ones if you prefer).
Step-by-Step: Building the Light Sweep
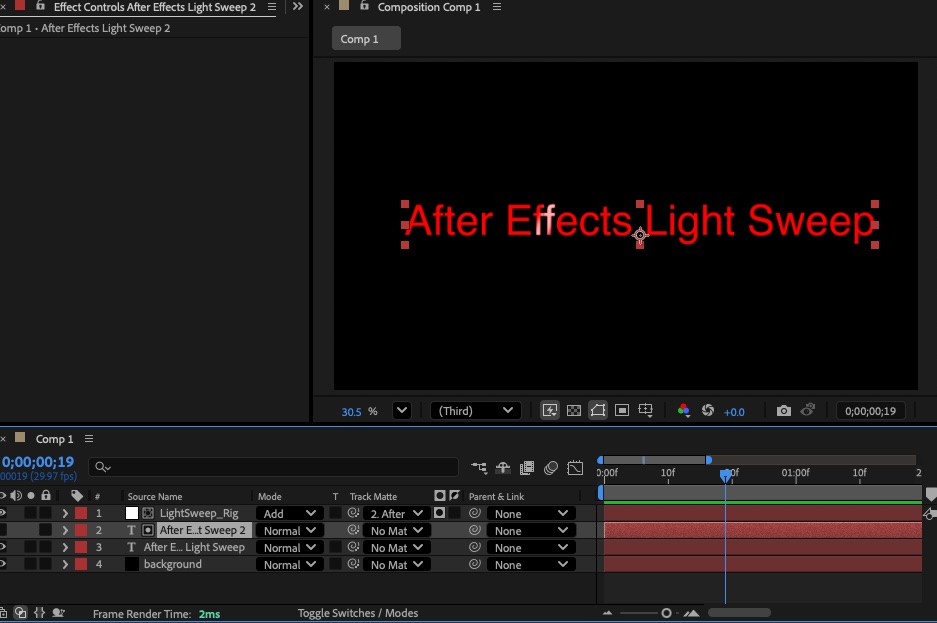
- Create a new “Solid” layer above your text/logo. Go to Layer > New > Solid, pick a light color (white or light pastel) and make it the same size as your comp. Name it “Light Sweep_Rig”.
- On that solid, apply a mask — draw a narrow rectangle (or long thin shape) that spans horizontally or diagonally across the text/logo area.
- Set the masked solid’s blend mode to “Add” or “Screen”. This makes the masked area act like a glowing highlight.
- To soften it, apply Effect > Blur & Sharpen > Gaussian Blur. Set the blur amount so the edges of your sweep soften nicely (try ~20 px to start).
- Animate the mask path:
- At the start, position the mask just off the left (or bottom) edge of the text/logo.
- Move ahead ~1 – 2 seconds (depending on your comp length) and set a keyframe where the mask has moved to the far right (or top) edge of the text/logo.
- Use Ease In / Ease Out keyframe interpolation (F9) to make the motion smooth.
- To refine the effect, you can lower the opacity of the solid (maybe ~60-70 %) so it doesn’t overpower the text.
- Duplicate your text layer.
- Set the “Light Sweep_Rig” layer to use your duplicated text layer as a Track Matte.
- For added realism, you can duplicate the sweep layer, offset its start by a few frames, and reduce its size and blur to create a “secondary” mini-sweep for extra shimmer.
- Optional: Add a subtle glint by using a tiny white dot or shape, apply Twinkle or CC Light Burst, and tie it to the moment the sweep crosses the logo.
- Preview (RAM-Preview) your motion. Adjust mask path speed, blur amount, sweep angle or opacity until it feels just right.
Pro Tips
- If your text/logo has letter-by-letter animation, you can parent the sweep layer to the text so the highlight moves with the letters.
- For logos with gradients or textures, consider pre-composing your logo/text first, then apply the sweep layer in the pre-comp to keep things tidy.
- To vary it visually: try vertical sweep, diagonal sweep, or even circular motion (mask path around the logo).
- If you’ll reuse this effect a lot, save your sweep setup as a template or pre-comp — just swap in new text and reuse the animation.
When to Use (and When to Skip)
Use it for: • Title sequences • Logo reveals • Product promo intros • Any text you want to feel high-end
Skip it if: • The scene is minimal and you want no distractions • The text/graphic already has too many effects and needs to stay clean