Illustrator Tip of the Week: Use the Shape Builder Tool to Create Custom Icons Fast
Tired of combining, subtracting, and Pathfinder-ing your way through shape chaos?
Step-by-Step: How to Use the Shape Builder Tool
- Create Your Basic Shapes
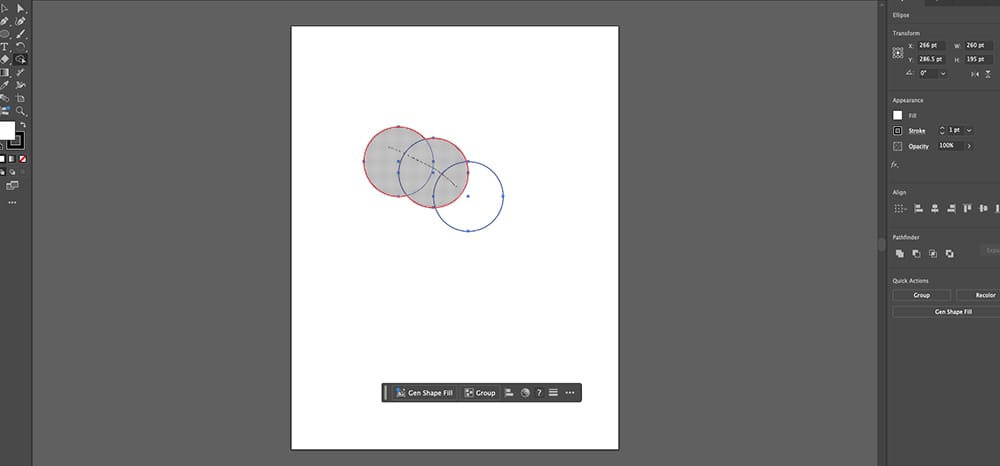
Use rectangles, circles, polygons—whatever you need. Overlap them to form the rough structure of your design. - Select All the Shapes
Drag to select or use Shift + Click to choose multiple shapes. - Activate the Shape Builder Tool (Shift + M)
Your cursor will change to a paintbrush with a selection net. - Click and Drag Through Areas to Combine Them
Illustrator will highlight sections as you hover. Click or drag through the ones you want to merge. - Hold Option/Alt and Click to Subtract Areas
Need to knock out parts of the shape? Hold Alt (Windows) or Option (Mac) and click those areas to remove them.
When to Use This:
- Designing custom icons, logos, and badges
- Creating geometric patterns or abstract illustrations
- Quickly cleaning up overlapping shapes for vector exports
- Replacing Pathfinder panel steps with something more visual and intuitive
Pro Tip:
Turn on Smart Guides (Cmd/Ctrl + U) before building shapes. They’ll help you snap edges precisely and align components while creating complex icons or logos.