Illustrator Tip of the Week: Pen Tool Basics
The Pen Tool in Adobe Illustrator is one of the most powerful—and sometimes intimidating—features for designers. It gives you total control over shapes, curves, and paths, allowing you to create custom illustrations and vector graphics with precision. If you’ve ever struggled with anchor points or bezier handles, this week’s tip will help you unlock the Pen Tool’s full potential.
Step-by-Step Guide: Using the Pen Tool Effectively
- Start Simple – Select the Pen Tool (shortcut P) and click to create straight anchor points. Connect them to form polygons or sharp shapes.
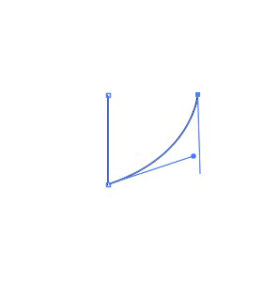
- Add Curves – Instead of just clicking, click and drag to pull out handles. These define the curvature of your path.
- Adjust Anchor Points – Use the Direct Selection Tool (A) to tweak anchor points or handles for smoother curves.
- Switch Between Corners and Curves – Hold Alt/Option while dragging a handle to adjust one side independently, turning a curve into a corner or vice versa.
- Close Your Path – Hover over your starting point until you see a small circle next to the cursor, then click to close the path.
Pro Tip
For perfectly smooth curves, try laying down fewer anchor points. Beginners often add too many points, which makes paths bumpy and hard to edit. A clean curve usually needs just two anchor points and well-adjusted handles.
Use Cases
- Creating custom icons and logos
- Tracing scanned sketches into vector artwork
- Designing typography or hand-lettered shapes
- Building clean clipping paths for product images
With practice, the Pen Tool will feel less like a mystery and more like your best friend in Illustrator. Master it, and you’ll unlock the true power of vector design!